
WORKFLOW WITH APIUM M220
Work Flow of Patient Specific PEEK Implant with Apium M220
In recent years, 3D printing has revolutionized the manufacturing industry. One of the industries include Medical Industry specifically manufacturing of Implants. 3D printing has enabled the possibility to manufacture patient specific implants with PEEK, which are cost efficient as well as reduces the waiting time for patients from weeks to few hours or days.
3D printing of patient specific PEEK implant at hospitals or at a manufactory using Apium M220 is a step by step process. The steps are elaborated in the following paragraphs:
Work Flow of Patient Specific PEEK Implant with Apium M220
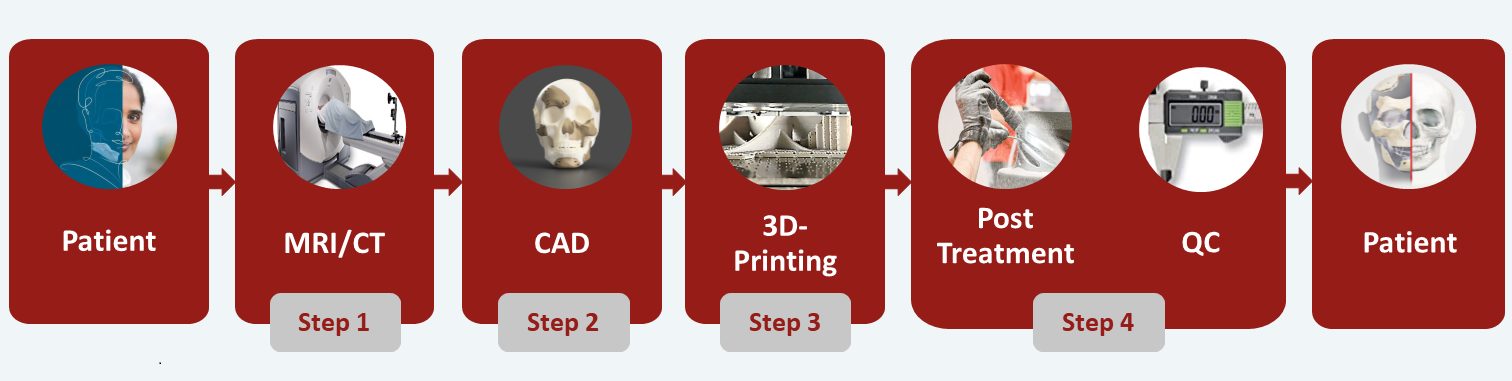
Step 1 :
Analyzing The Area Of Reconstruction Performed By Health Experts At Hospital.
Health Experts and Surgeons Analyze Area of Reconstruction
The damaged region or the area that needs reconstruction in patients is examined in a CT or MRI scan. The data collected are sectional images that are saved in DICOM format. A digital model of the examined part of the patient’s body can be generated from the individual slices using the appropriate segmentation software. Based on this virtual model, the surgeon can plan the appropriate intervention. Then decisions are made, which pieces of bone need to be removed, which need to be replaced, or where reinforcements should be placed.
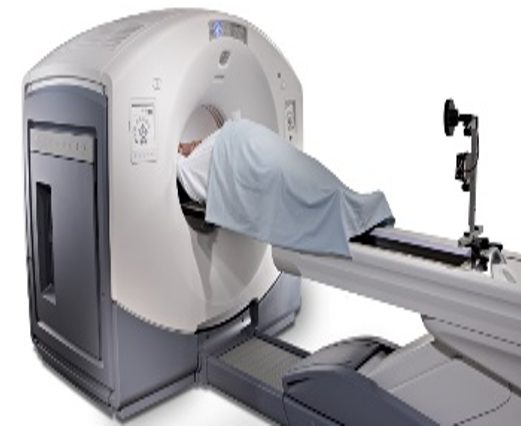
MRI/CT Scan
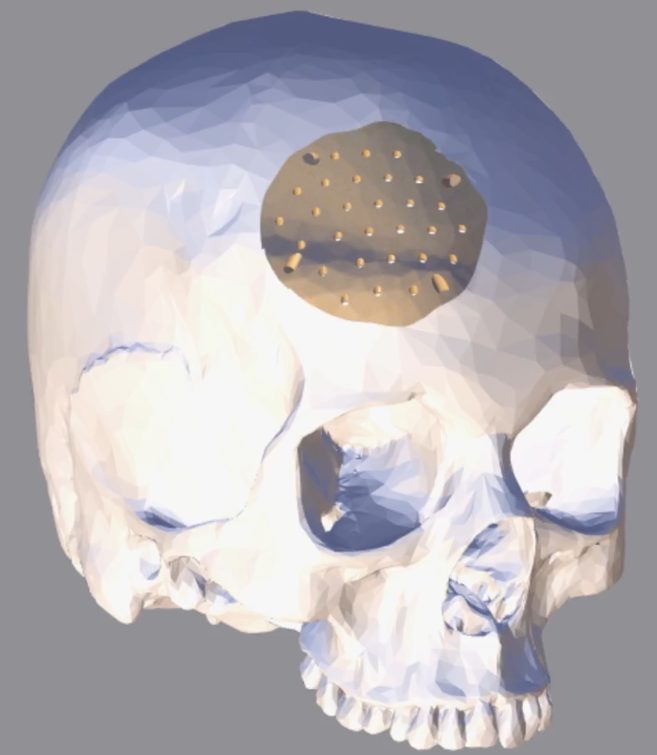
CAD/Virtual Model
Step 2 :
CAD and implant design expert creates virtual model of implant:
After the analysis and planning, the designing of the implant will be performed by a design expert in implants manufacturing. The design expert uses CAD software to create a virtual model of the implant based on the guidelines specified by the health care experts. The design expert also need to consider the fact that the part being reconstructed will be additive manufactured. Therefore, factors like the orientation of the part during 3D printing with respect to load cases, support structures and ease of printing needed to be considered.
Step 3:
Manufacturing Of Patient Specific Implant Using Apium M220 by Engineer/ Technician
AM Technician Manufactures Implant Using Apium M220
After creating the virtual CAD model, the next step will be the extraction of .STL data from the CAD. The .STL data basically breaks down the CAD into smaller triangles. The .STL data will be loaded into any slicer software. The slicer software is also loaded with parameters respective to material, printer and part design. As a result the slicer software generate the G-Code file. The G-Code will have all the parameters needed for manufacturing such as tool path and temperature profile. The G-Code file will be uploaded to Apium M220 to start the 3D print of the medical device.

3D Printing
Post-Processing
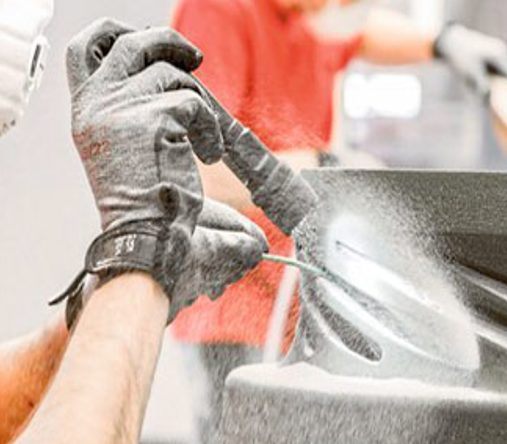
Step 4:
Post Processing Of the Manufactured Patient Specific Implant
AM Technician Performs the Post Treatment of the 3D printed Implant
Post treatment of the manufactured medical device might be needed. The post treatment is performed to have smoother surfaces or to remove support structures or residues. There is no automated process for post treatment and it has to be performed manually. It is recommend to use tools made up of bio compatible materials, but it also depends on the material that needs to be post treated. For example PEEK is a machine-able material, therefore cutting, grinding, milling can be performed.